Leather Couch Crack Repair: Safe DIY Limits and Professional Options
Before filling or coloring a crack, identify what is actually failing. Light finish wear, a true leather split, an open seam and bonded-leather delamination need completely different responses.
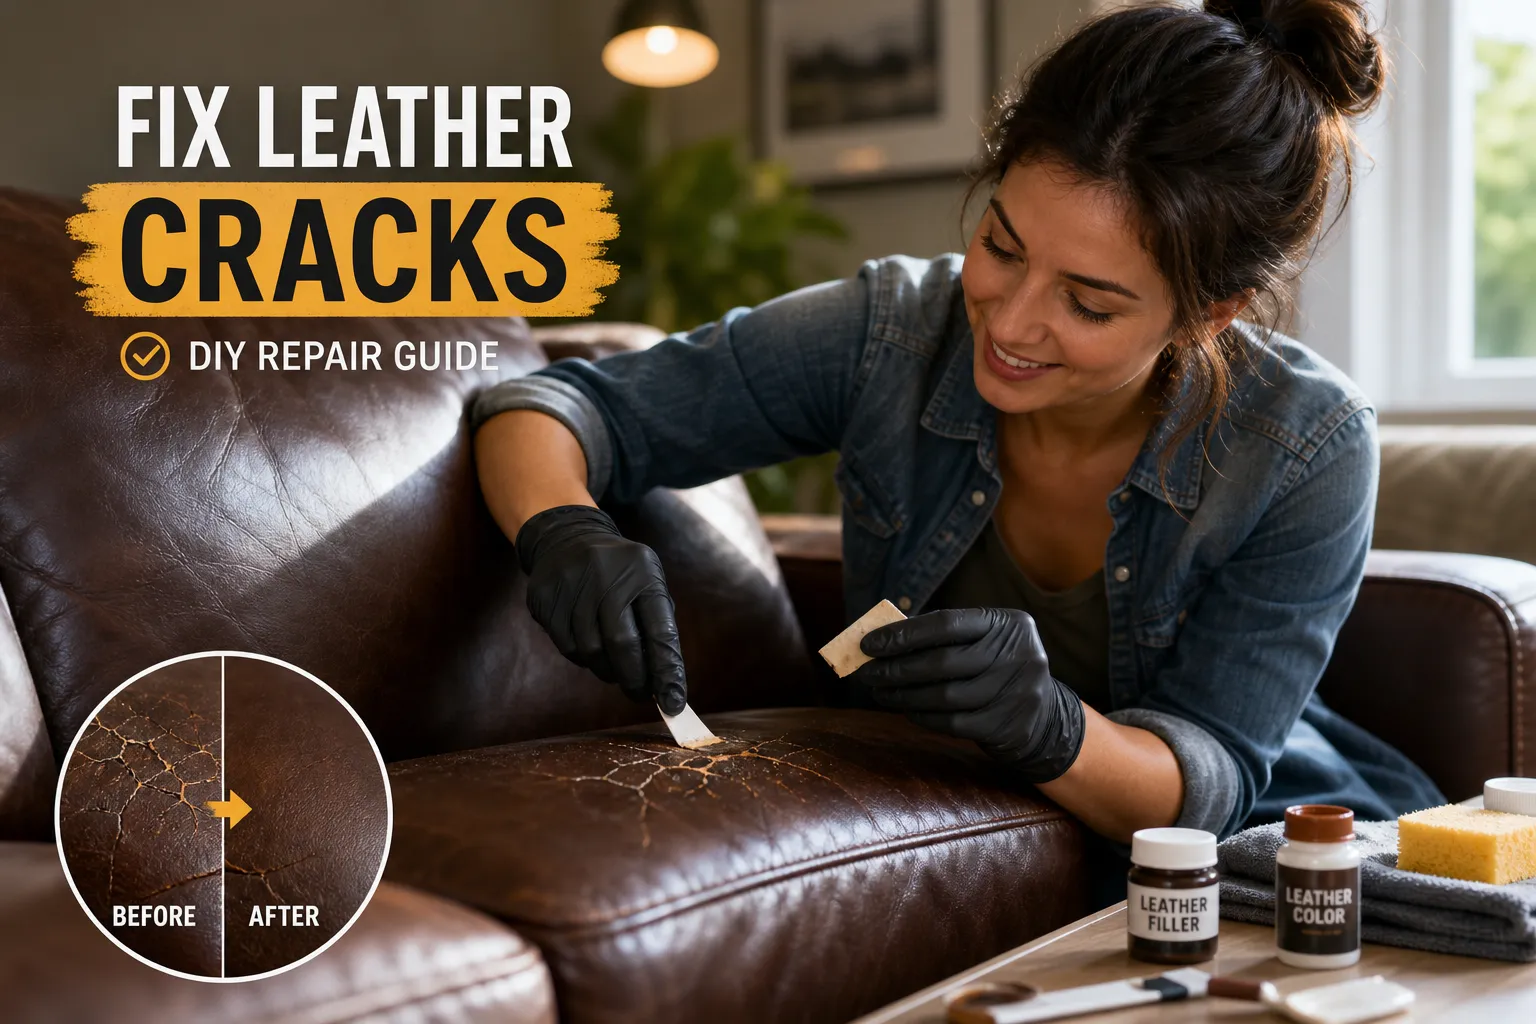
- Reduce use of the damaged cushion or arm so the crack does not spread.
- Photograph the whole sofa and the damage before applying any product.
- Do not use super glue, tape, shoe polish, cooking oil or silicone conditioner.
- Limit DIY work to very minor surface care unless the material and repair system are known.
First, identify what “cracked leather” means
| What you see | Likely issue | Best next step |
|---|---|---|
| Fine pale lines that do not open when flexed | Finish wear or early surface cracking | Stop harsh cleaning, document the area and get material-specific advice before recoloring. |
| A groove or split that opens under light pressure | Damage through the finish and possibly into the leather | Reduce use and request professional assessment; filling alone may not stabilize it. |
| Edges pulling apart along stitching | Open seam or weakened stitch line | Stop using the seat. It may need restitching, reinforcement or panel work. |
| Flakes or sheets lifting from a fabric-like backing | Bonded-leather delamination | Compare panel reupholstery or replacement. Surface filler is not a durable cure for widespread peeling. |
| Plastic-like coating separating or cracking | Vinyl coating/substrate failure | A high-stress panel may need replacement rather than repeated cosmetic coating. |
If you are unsure, look beneath a removable cushion for a label and send both wide and close-up photos. Do not rely on a store receipt that says only “leather seating”—some sofas combine genuine leather on contact areas with vinyl or bonded material elsewhere.
Immediate steps that will not make the crack worse
- Move pressure away from the damage. Rotate a removable cushion or temporarily avoid that seat if possible.
- Remove loose grit gently. Use a clean, dry microfiber cloth. Do not scrub a lifting finish.
- Keep the area dry. Do not saturate a crack with water, cleaner or conditioner.
- Take clear photos. Include the entire sofa, the damaged panel, a close-up and the material tag.
- Record previous products. Tell the technician about any polish, oil, adhesive, conditioner or repair kit already used.
What can reasonably be a DIY project?
DIY is most defensible when the issue is minor surface care, not an open crack. For example, a small rub mark on protected leather may be cleaned with a manufacturer-approved, pH-appropriate product after a patch test in a hidden area. Follow the furniture maker's care instructions and stop if color transfers to the cloth.
A consumer color product may make a tiny low-visibility scuff less noticeable, but matching color is only part of the problem. Adhesion, flexibility, sheen and compatibility with the existing finish determine whether the area remains usable. Test kits can also complicate later professional work if they contain silicone, wax or an inflexible coating.
DIY should stop when the damage opens, catches a fingernail, exposes backing, sits on a seam or high-flex edge, or appears in several places. Deep filler work without stabilization can create a hard ridge that cracks beside the patch.
Common DIY mistakes that increase repair cost
Super glue or household adhesive
Rigid glue creates hard edges and can soak into leather fibers. The area may still split because the surrounding material flexes while the glue does not.
Conditioner before recoloring
Conditioners can leave oils or silicone that interfere with coating adhesion. Conditioning may be useful as routine care on compatible leather, but it is not a preparation step for a crack that will be filled and recolored.
Shoe polish, markers or paint
These products may transfer to clothing, change sheen or resist the flexible coating system used later. Color that looks close in the container can look very different after drying.
Heavy sanding
Sanding can remove intact finish, flatten the grain and widen the area that needs blending. Aggressive sanding on thin or weakened material can turn a surface problem into a tear.
Repairing only the visible line
The material around a crack may be contaminated or weak. A durable scope often requires cleaning and blending beyond the line itself, not simply drawing filler through the center.
For more examples, see common DIY leather repair mistakes.
How professional couch crack repair works
The exact process changes with material and damage, but a professional visit generally follows this sequence:
- Inspect and identify. Confirm the surface type, strength, contamination and whether damage is cosmetic or structural.
- Clean and prepare. Remove compatible soils and residues without over-wetting the material.
- Stabilize when needed. A split or weak area may need backing or another structural step before appearance work.
- Level the damaged surface. Flexible materials are applied in controlled layers appropriate to the substrate.
- Match color and sheen. Pigment is blended with the aged surrounding finish rather than a generic factory code alone.
- Protect and cure. A compatible topcoat is applied, and the owner receives instructions about cure time and initial use.
The goal is a stable repair and a close visual blend. Grain loss, old scarring and color variation may still be detectable at close range or in certain light. “Invisible every time” is not a responsible universal promise.
When crack repair is worth it
Repair is often worthwhile when the frame and cushions are sound, the damage is limited, and the surrounding material remains flexible. It becomes less attractive when cracks cover several high-use panels, the sofa is uncomfortable, or bonded leather is peeling beyond the original spot.
Mobile furniture repair starts at $225 plus travel. Travel is generally $50–$75 depending on location, and the final scope is based on photos and inspection. Read the Denver couch repair cost guide for current planning ranges.
If the decision is still unclear, use the repair, reupholster or replace checklist.
Care after a professional repair
- Follow the technician's cure-time instructions before regular use or cleaning.
- Keep the sofa away from direct heat and reduce strong sun exposure where practical.
- Use only compatible cleaners and conditioners, and do not apply them more often than the material requires.
- Address new seam movement or finish wear early, before it becomes a long split.
On sound household leather, properly prepared recoloring may remain serviceable for roughly three to five years with normal use and suitable care. High-flex areas, pets, sun, body oils and weak surrounding material can shorten that. Den Leather Repair includes a 6-month workmanship warranty; it cannot prevent unrelated aging outside the repaired area.
Photos to send for an assessment
- The full couch from the front.
- The complete damaged cushion or arm.
- A sharp close-up taken in natural light.
- Any other cracking or peeling elsewhere on the piece.
- The material tag and your ZIP code.
Get the material checked before applying a kit.
Text the full view, close-ups and your ZIP code.
Ask before a small crack becomes a split
Send clear photos and your ZIP code for an honest assessment of material, repairability and likely cost.