Car Seat Leather Restoration: DIY vs Professional Repair
Cleaning, recoloring, crack repair and panel replacement are different jobs. This guide explains what can be handled conservatively at home, when professional restoration is appropriate and when safety or material failure changes the plan.
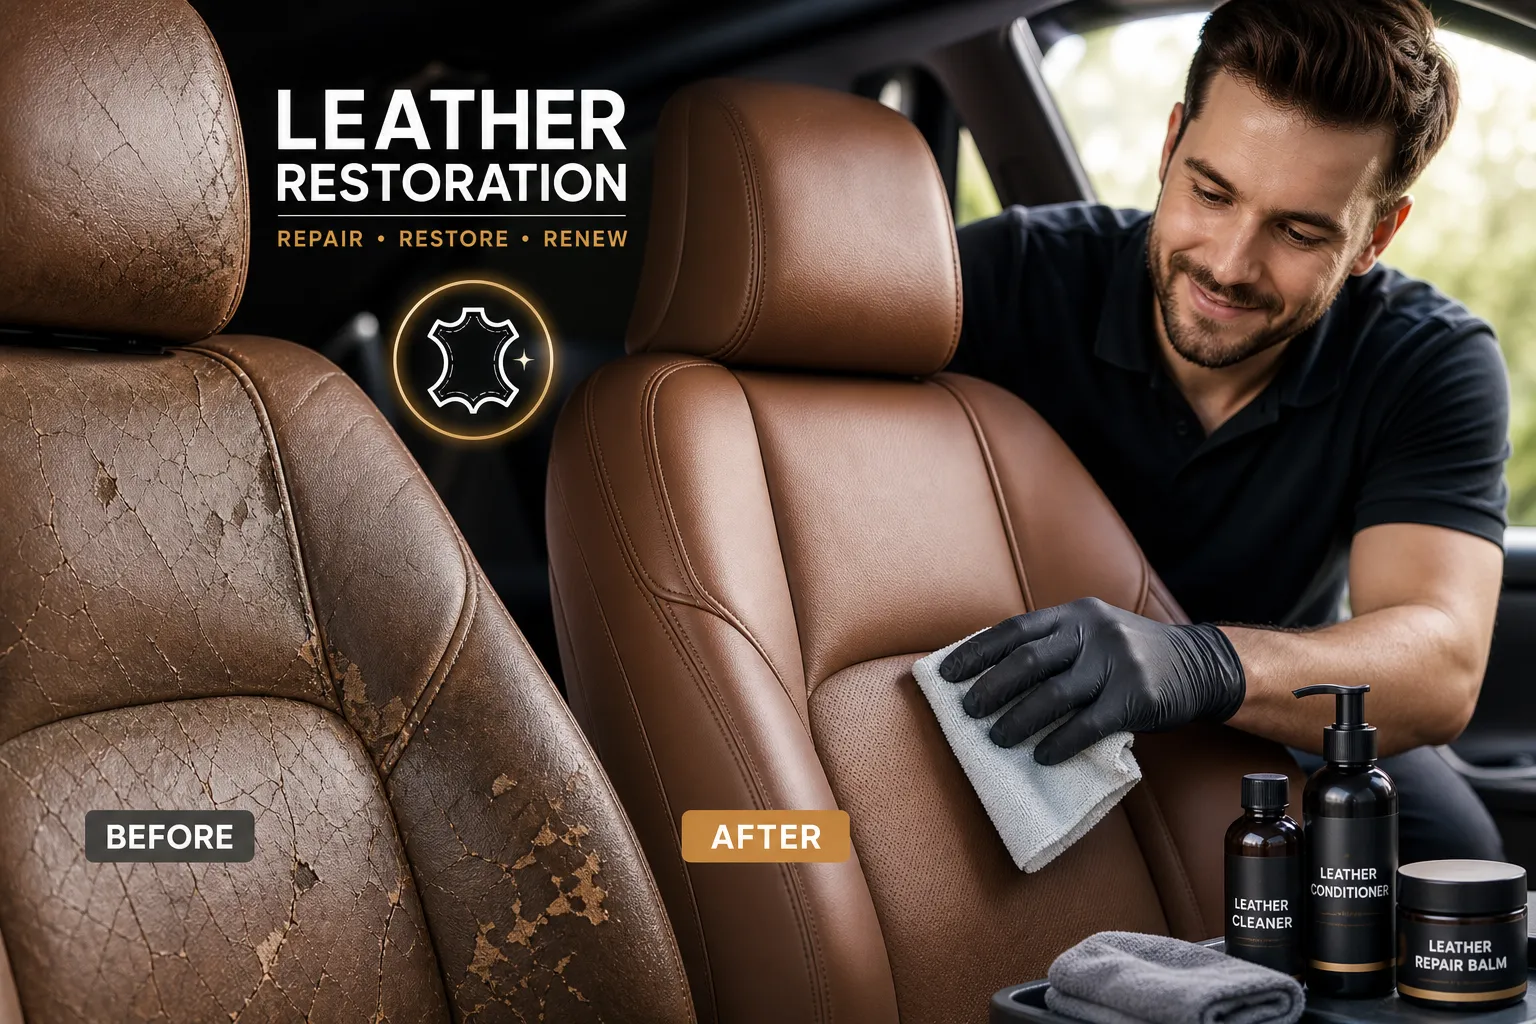
- DIY is best limited to compatible cleaning and very minor cosmetic care.
- Cracks, tears, burns, open seams and broad color loss generally need professional assessment.
- Widespread vinyl/coating separation or weak material may require panel replacement.
- Airbag seams, occupancy sensors, heaters and ventilation systems require safety-aware work and compatible materials.
Identify the type and depth of damage
| Condition | What it often means | Typical path |
|---|---|---|
| Shiny, dirty or darkened surface | Body oils, transferred dye or accumulated soil | Material-compatible cleaning; do not assume it needs recoloring. |
| Color rubbed off, surface still smooth | Finish wear, common on driver bolsters | Cleaning, preparation and localized recoloring may be suitable. |
| Fine cracking that does not open | Finish failure or early material stress | Assess flexibility and substrate before coating. |
| Crack or split opens when flexed | Damage through the finish and possibly substrate | Stabilization and professional repair, or panel replacement if weak. |
| Tear, puncture or cigarette burn | Missing or separated material | Backing/filling may be possible; location and size determine viability. |
| Open seam | Failed thread or weakened stitch line | Stop using the seat and assess for restitching or panel work. |
| Peeling coating across a broad area | Synthetic surface or coating separation | Panel replacement may be more durable than repeated spot coating. |
Damage on the outer driver bolster receives far more sliding friction than a rear-seat backrest. The same-looking crack can need a different scope depending on how the panel flexes and whether the driver rubs across it on every entry and exit.
Leather, coated leather, vinyl or synthetic upholstery?
Many vehicle seats combine materials. A seat may use leather on the central contact panel and vinyl on bolsters or sides. Some vehicles use synthetic upholstery throughout. Marketing names alone do not tell a technician which prep, filler and coating system is compatible.
Useful clues include the vehicle year and trim, the upholstery code, the grain and backing visible at an existing edge, and how the surface absorbs a tiny amount of approved cleaner. Do not cut or peel material to “test” it. A photo of the full seat, close-ups and the vehicle details is a safer starting point.
DIY fixes vs. professional car-seat repair
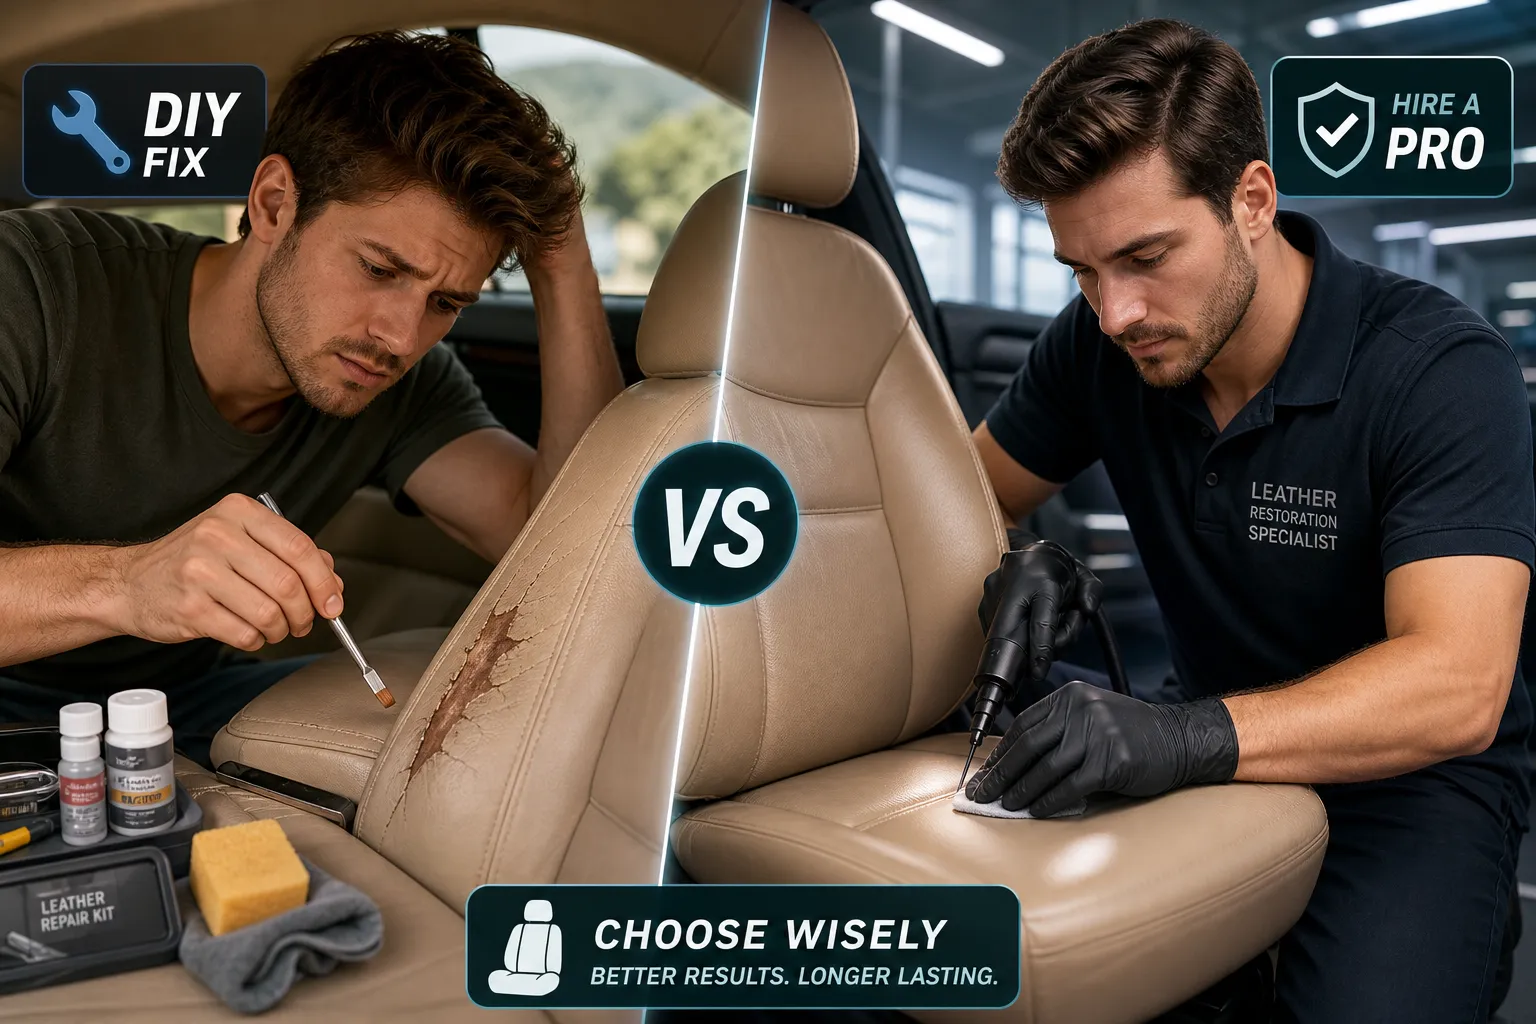
| Task | Conservative DIY | Professional assessment recommended |
|---|---|---|
| Routine cleaning | Yes, with a manufacturer-approved product and hidden-area test. | If dye transfers, the finish is lifting, or the seat has heavy oil/silicone contamination. |
| Tiny low-visibility color rub | Possibly, if material and coating are known and expectations are modest. | Visible bolsters, light colors, two-tone finishes or lease-return appearance concerns. |
| Fine cracks | Avoid filling until depth and flexibility are known. | Recommended for high-flex seating or lines that catch a fingernail. |
| Tear, puncture or burn | No household glue or generic patch. | Recommended; missing material and edge strength determine the method. |
| Open seam | Stop using the seat; do not sew through unknown construction. | Recommended, especially near an airbag seam. |
| Broad peeling or brittle panel | No durable DIY coating can restore a failing substrate. | Panel replacement or upholstery specialist evaluation. |
What to avoid
- super glue, household contact cement or rigid epoxy;
- markers, shoe polish, craft paint or interior dye not designed for the material;
- silicone dressings before a repair or recolor;
- heavy sanding that removes grain or thins the panel;
- unverified stitching through a seam that may be part of a side-airbag deployment path;
- covering warning labels, connectors or sensor-related components.
See common DIY leather repair mistakes before applying a kit.
What professional car-seat restoration involves
The precise workflow depends on material and damage, but a restoration normally includes:
- Inspection. Identify material, previous products, weak areas and seat features.
- Cleaning and decontamination. Remove compatible soils and residues so repair materials can adhere.
- Structural preparation. Stabilize a split or support a repair where appropriate; reject the job if the substrate is too weak.
- Surface leveling. Apply flexible repair material in controlled layers without creating a rigid lump.
- Color and sheen matching. Blend to the actual aged seat rather than relying only on a factory color name.
- Protective coating and cure. Apply a compatible topcoat and explain when the seat can return to normal use.
A professional result should improve stability and appearance while preserving normal flexibility. Grain loss, scars and texture differences may remain visible at close range. Exact invisibility is not a responsible universal promise.
Airbags, sensors, heaters and ventilation
Side-airbag seams
Some front-seat seams are engineered to open in a specific way during airbag deployment. Thread, stitch pattern and seam construction may be safety-critical. A decorative resew that looks correct is not enough.
Occupancy and position sensors
Seat-bottom components can affect airbag logic and warning systems. Surface work should not involve removing, compressing, bypassing or modifying sensors.
Heated and ventilated seats
Perforations, airflow paths and heating elements limit which backing, filler or replacement material is appropriate. A repair that blocks ventilation or creates a hot spot is not acceptable.
Post-repair warning lights
If an airbag or seat warning light appears, stop and have the vehicle diagnosed by an appropriate automotive professional. Cosmetic upholstery work is not a substitute for electronic or restraint-system diagnosis.
When to repair, recolor or replace a panel
Localized repair
Sound surrounding material, limited damage and no conflict with a safety-critical seam or component.
Broader recolor
Several worn areas remain structurally sound, but a tiny spot blend would leave uneven color or sheen.
Panel replacement
Brittle substrate, coating separation, large missing sections, unsafe seam location or repeated failure in a high-stress area.
Panel replacement is not a failure of restoration—it is often the correct technical choice. The replacement material must match function as well as appearance, especially on perforated, heated, ventilated or airbag-equipped seats.
Car-seat repair cost and expected service life
Den Leather Repair's mobile service starts at $225 plus travel. Travel is generally $50–$75 depending on location. Damage type, color, material, previous products, access and the number of panels determine the final quote. See the detailed car-seat leather repair cost guide.
There is no fixed lifespan for a restored seat. On a frequently used driver bolster, a properly prepared recolor may remain serviceable for roughly two to three years under normal use, but entry friction, clothing, heat, sun, cleaning products and weak surrounding material can shorten that. A low-contact passenger or rear-seat area may age differently. These are planning guidelines, not guarantees.
Den Leather Repair includes a 6-month workmanship warranty. It covers the repaired work under normal use, not new damage, misuse or unrelated material failure outside the repair.
How to photograph a seat for an accurate quote
- Take one photo of the whole front seat, including headrest, cushion and both bolsters.
- Take a second photo showing where the damage sits relative to seams and airbag labels.
- Add sharp close-ups in indirect daylight.
- Photograph any other wear on the same seat; a broader blend may be more appropriate.
- Send the vehicle year, make, model, trim if known, and your ZIP code.
- Mention heaters, ventilation, occupancy warnings or any previous DIY product.
Get a photo-based assessment.
Send the whole seat, close-ups, vehicle details and your ZIP code.
Aftercare that helps a restoration last
- Observe the stated cure time before normal use or cleaning.
- Slide across the driver bolster less aggressively when entering and exiting.
- Keep sharp tools, keys and exposed hardware away from the seat.
- Use compatible cleaners sparingly and avoid glossy silicone dressings.
- Address early finish wear before it becomes a deep split.
Get an honest car-seat repair assessment
Send clear photos, vehicle details and your ZIP code. Safety-sensitive or non-durable repairs will be identified before scheduling.